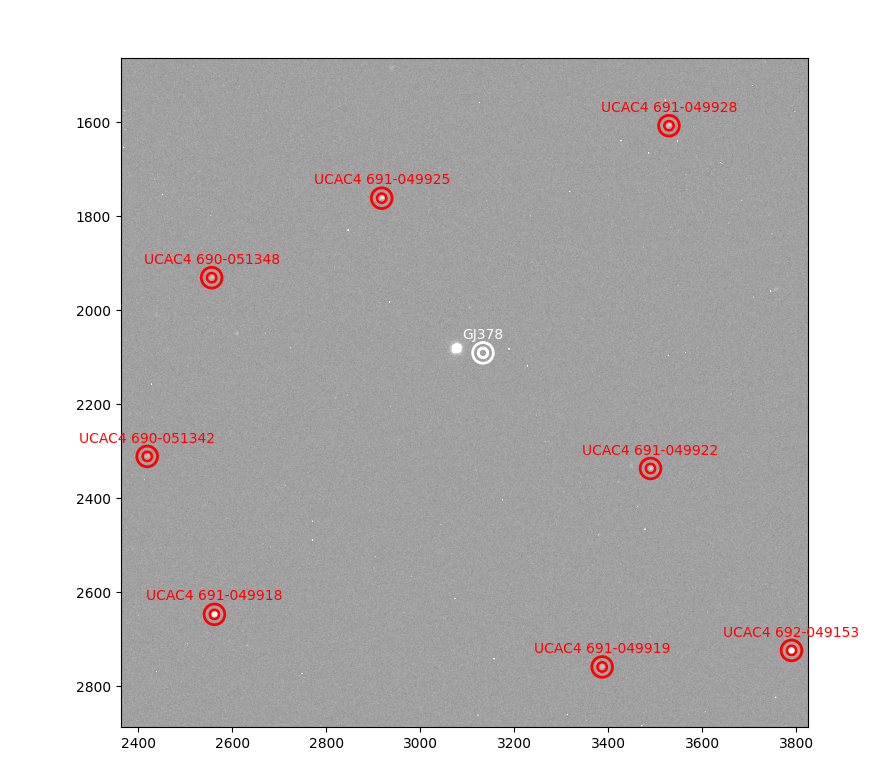
Fine Tuning Positions of a star in a Star Group

Lets run step by step over the procedure to adapt the coordinates !
Step1 : Select a Star Group.

Step 3 : Get a Photo
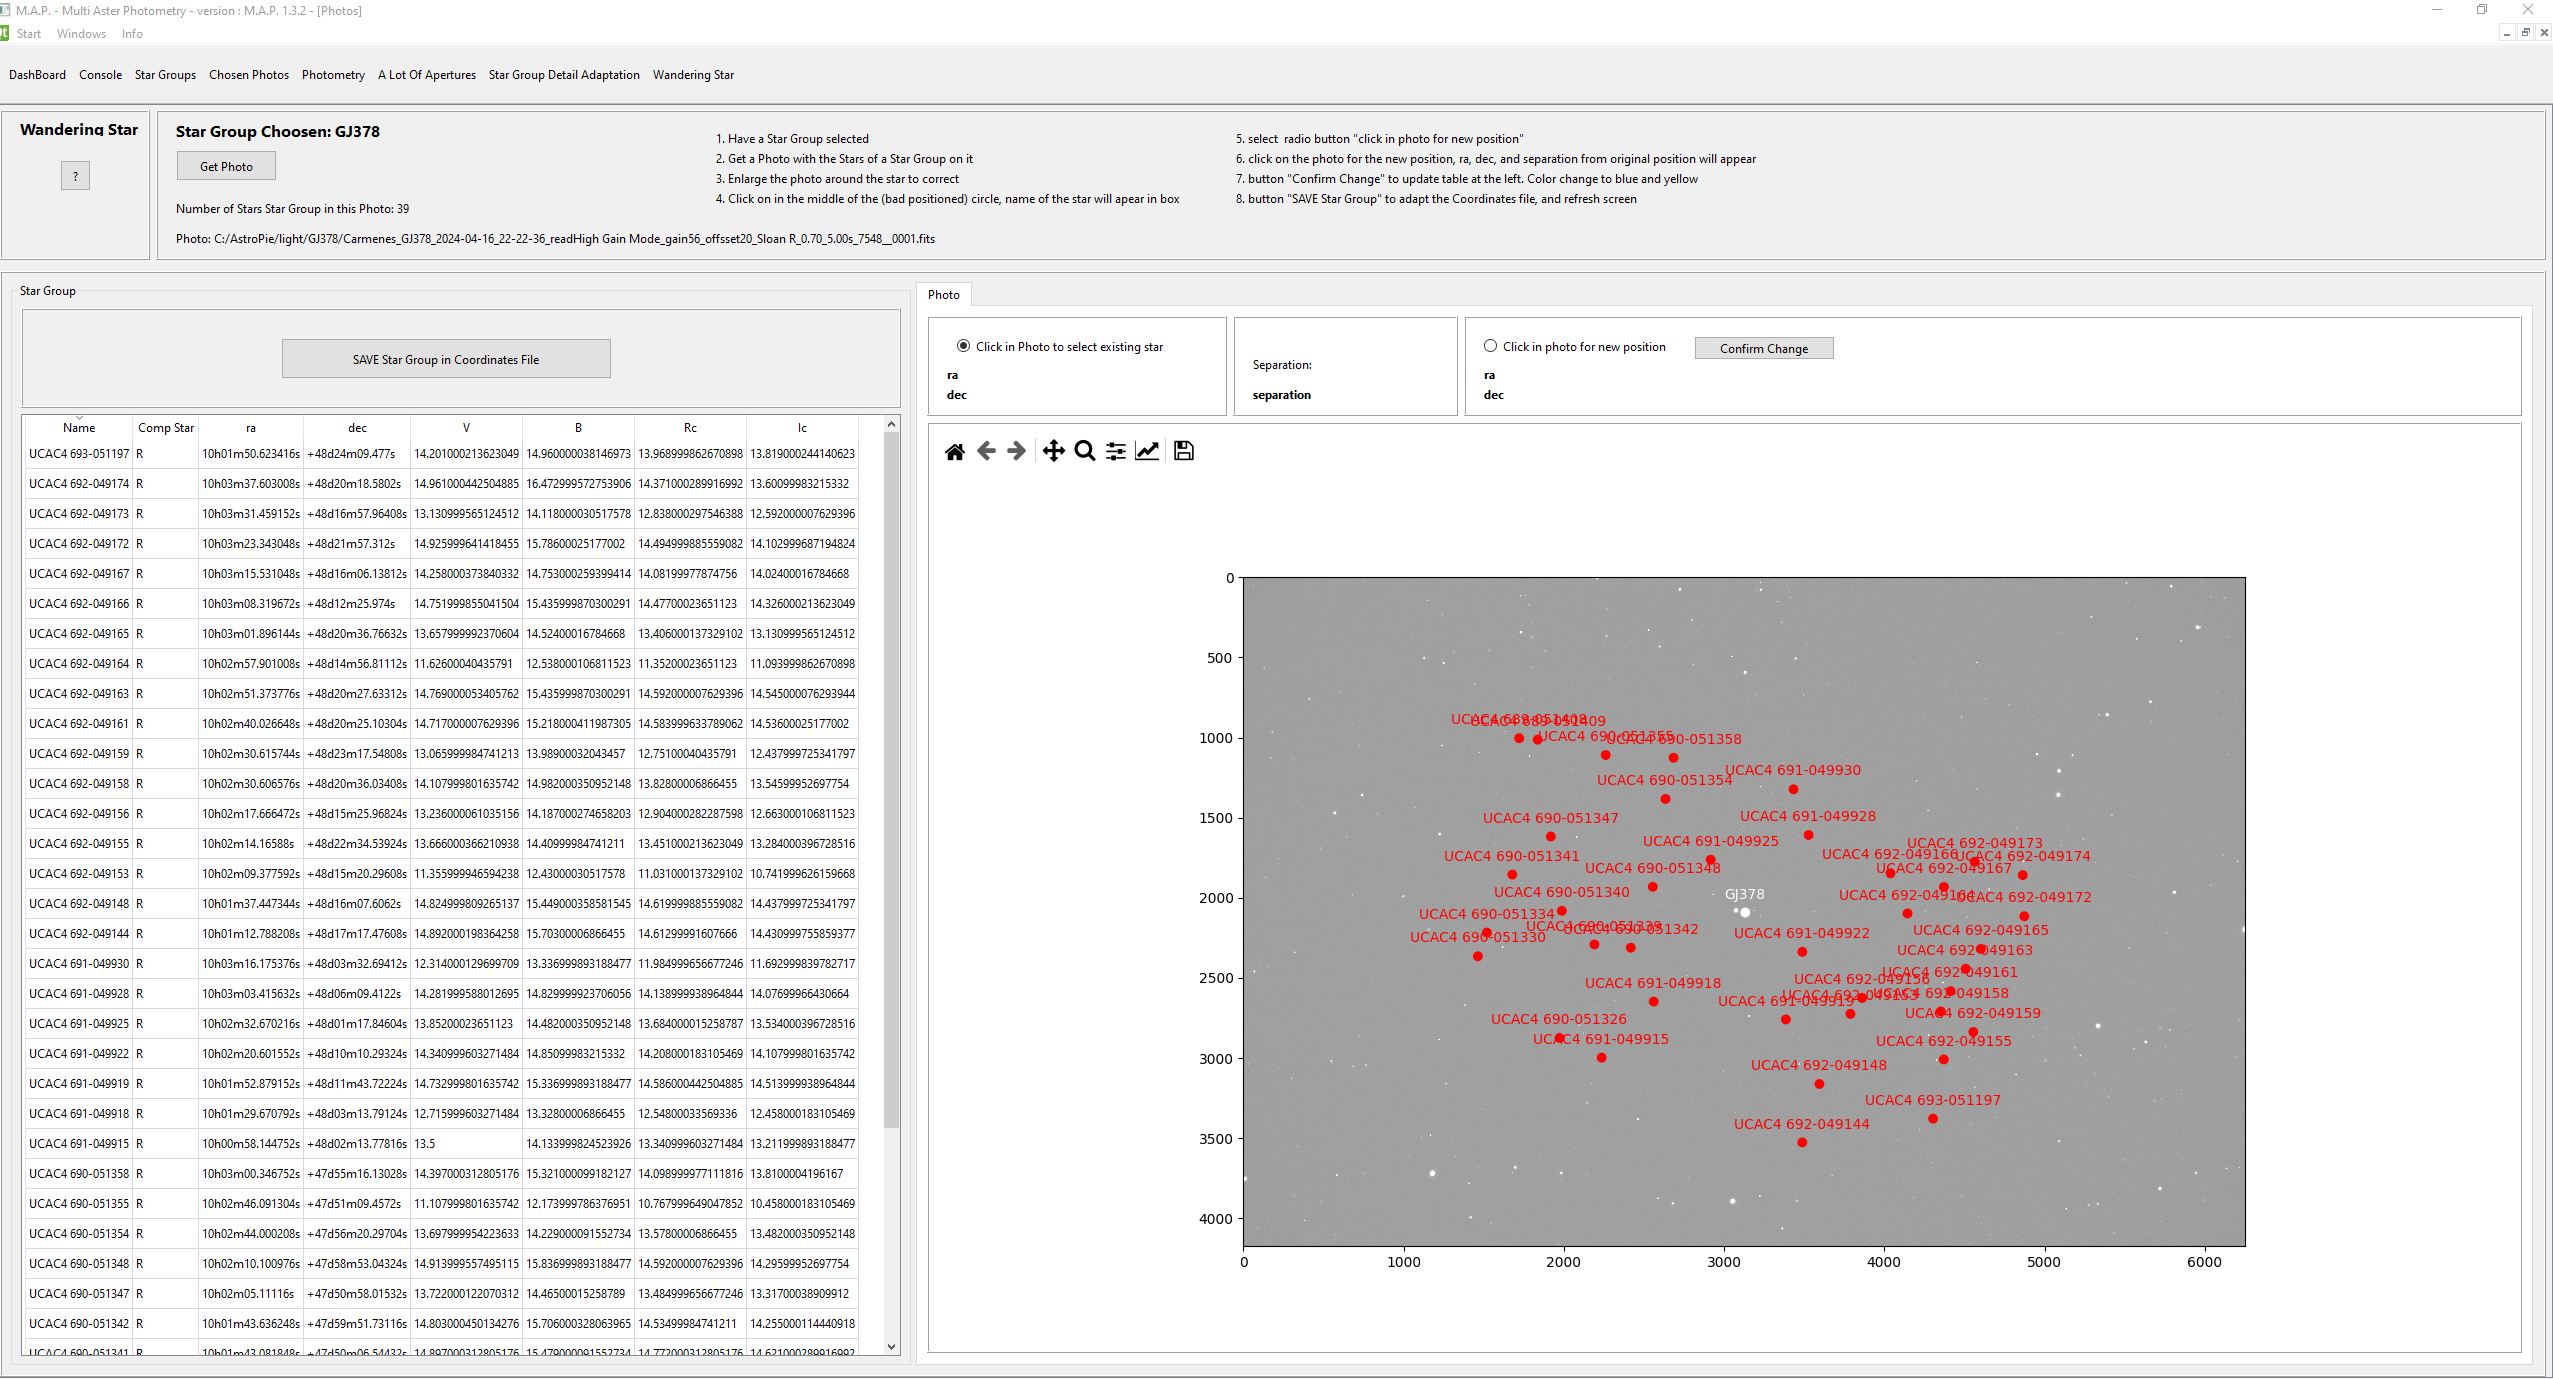
You need a photo of the starfield, via the button "Get Photo".
After some seconds the photo appears on the screen, with left the list of stars in your star group, and right the photo with the stars on them.

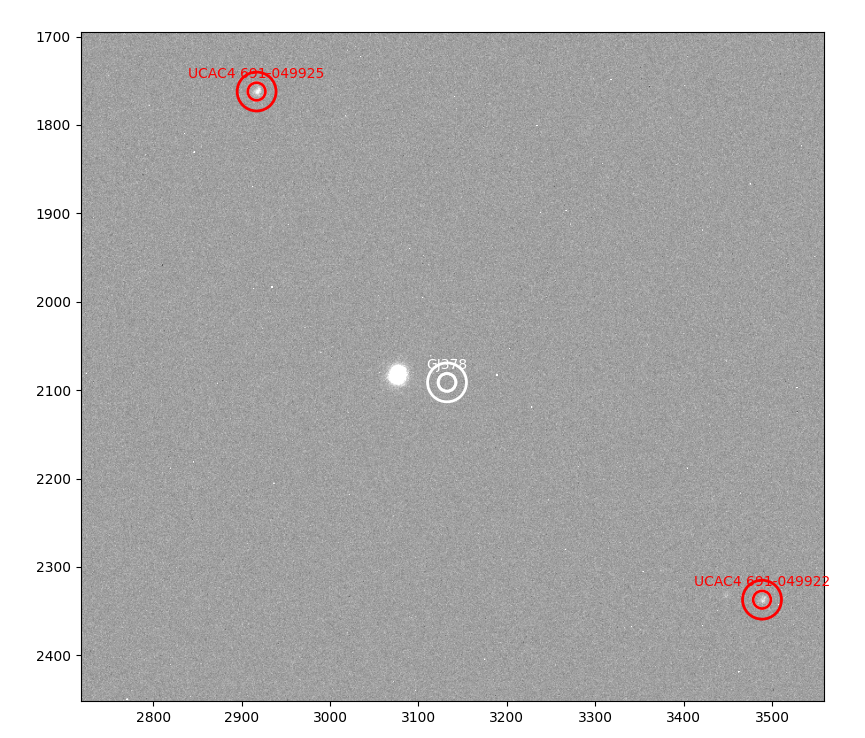
4. Zoom in
With magnifyinbg glass you can zoom in, with the arrows you can move over the photo, with the home you can start from scratch.
Play a bit with it. It's easy, once you know how to use it.


5. Click in the center of the aperture to be moved
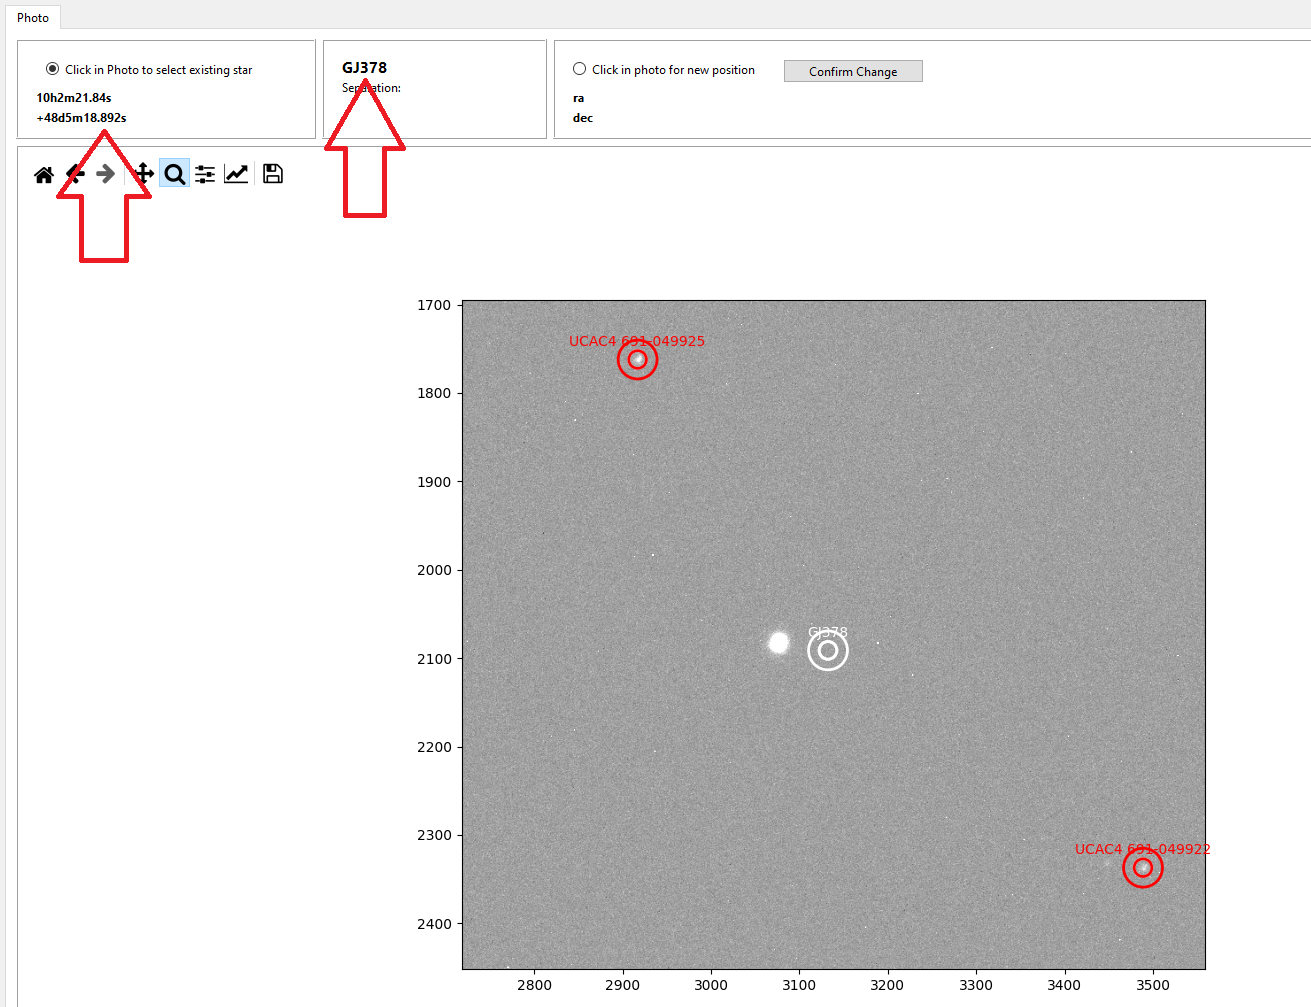
- Click in the center of the Aperture you want to move
- The coordinates of where you've clicked are shown on the screen, and the name of the star you clicked :

6. Move the Star In the Sky !
- Check the radio button "Click in the phot for a new position"
- Click in the middle of the star
- A new Aperture will appear, in magenta color
- The new coordinates and the separation in minutes between the old and new coordiunates will appear (for the moment with way too much numbers after the point)

7. Confirm !
If you are happy with the change, push the Confirm Button. Some new colors will appear

The coordinates in the table left and on the screen will be the same :


7. Additional Star ?
- Search the aperature of the star you want to move (home, zoom, arrows, in the Navigation Bar)
- Check the radio button "Click in Photo to select existing Star"
- Go to step 5, you may not pass over start.
8. Finished ?
If all is ok, do not forget to save the Star Group itself to disk : button "SAVE Star Group in Coordinates File".
Vwola, ready for your next Photometry Adventure !
