Calibration : Dark Frames and Dark Current
(no, we are NOT measuring Dark Matter nor Dark Energy ! (though that would have been interesting.)
What are Dark Frames used for ?
While an astronomical photo is being taken, some extra counts are added per second to each pixel. Some pixels, the warm or hot pixels, even a bit more than others. These extra counts are called "Dark Current".
With Dark Frames the aim is to remove the effects of Dark Current and Hot pixels from your Science Frames.
Interestingly, if a camera is cooled, that dark current is lower.
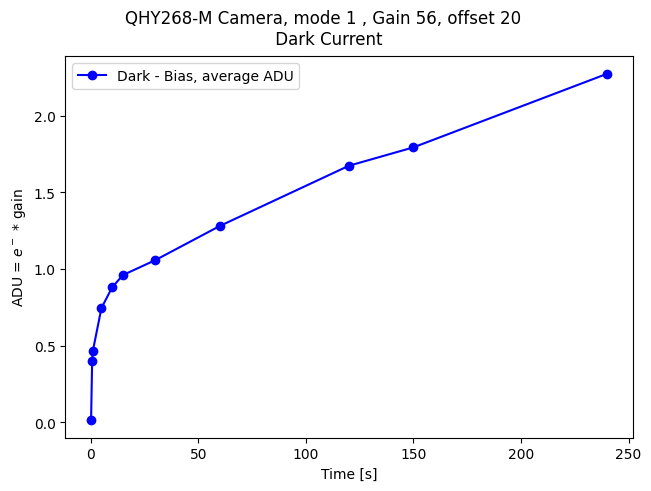
Less interestingly, if a photo has a longer exposure, it will have more dark current in it.
This figure shows the average counts (called ADU in nerd-speak) the dark current adds to a photo, depending on the exposure time :
How to take a Dark Frame ?
As can be seen in the previous figure, there is no exact linear relation between the exposure time and the extra counts the dark current generates. Thus we need to take dark frames for each possible exposure time you want to use in your photometry (see also a next paragraph)
Also, the dark current depends on the Temperature. And it depends also on the settings of the camera.
Thus : you need to make a Master Dark for each combination of Exposure Time, Temperature, Gain, Offset and Camera Mode.
How many Dark Frames to be taken ?
As a dark is taken in absolute darkness, the formula for a dark frame is :
Dark Frame = Offset + Read Noise + Dark Current + Noise.
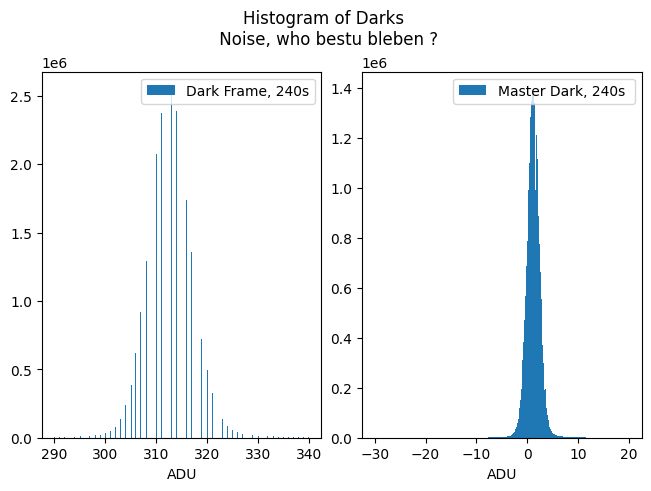
The last term "Noise" is noise that is always present when photons or electrons are counted (quantum mechanics at play). As that noise is totally random it can be lowered by averaging a number N of photo's, which lowers the noise by a factor :√ N.
That effect is visible in the next histogram. Left a histogram of one single dark frame of 240s. The width of the curve indicates the noise level. Right the same histogram of a master dark frame averaged out of 25 dark frames of 240s.
How to proceed in AstroPie ?
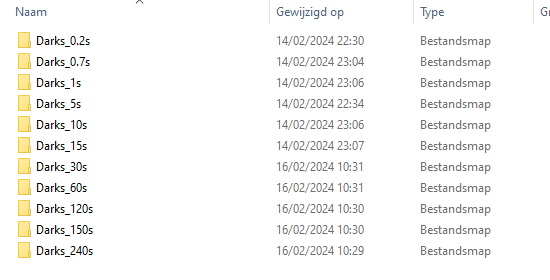
Make your series of dark frames (e.g. 25 for each necessary combination) and place them in a directory. Really pay attention that they are taken in absolute darkness.
For example, these are the directories with my dark frames, each containing 25 photo's :
In my example the directory is : C:\AstroPie\master_mode1_20240214\Darks_240s
The default value for the dark directory is to be found in the astropie.ini file, parameter : "darkFolder="
In this case the dark directory is different as the default one from the .ini file, thus it has been changed via the button "Change Dark input directory"
The default output directory for the masters is found also in the astropie.ini file, parameter : "masterFolder="
In this case it has been changed via the button "Change Output Directory for Dark master".
In this case I decided to leave the bias component in my photo. Push the button "No Master Bias". The text "None" will be shown under the Bias buttons.
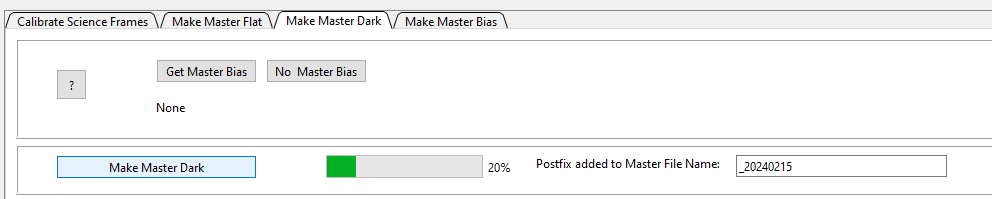
A last thing is the field "Postfix added to the Master File Name". Its a suffix that is added to the name of the master file, in this case I add the date.
Once everything is ok, create your Master Dark via "Make Master Dark".
This takes a while, you can see the progress via the progress bar :
Result
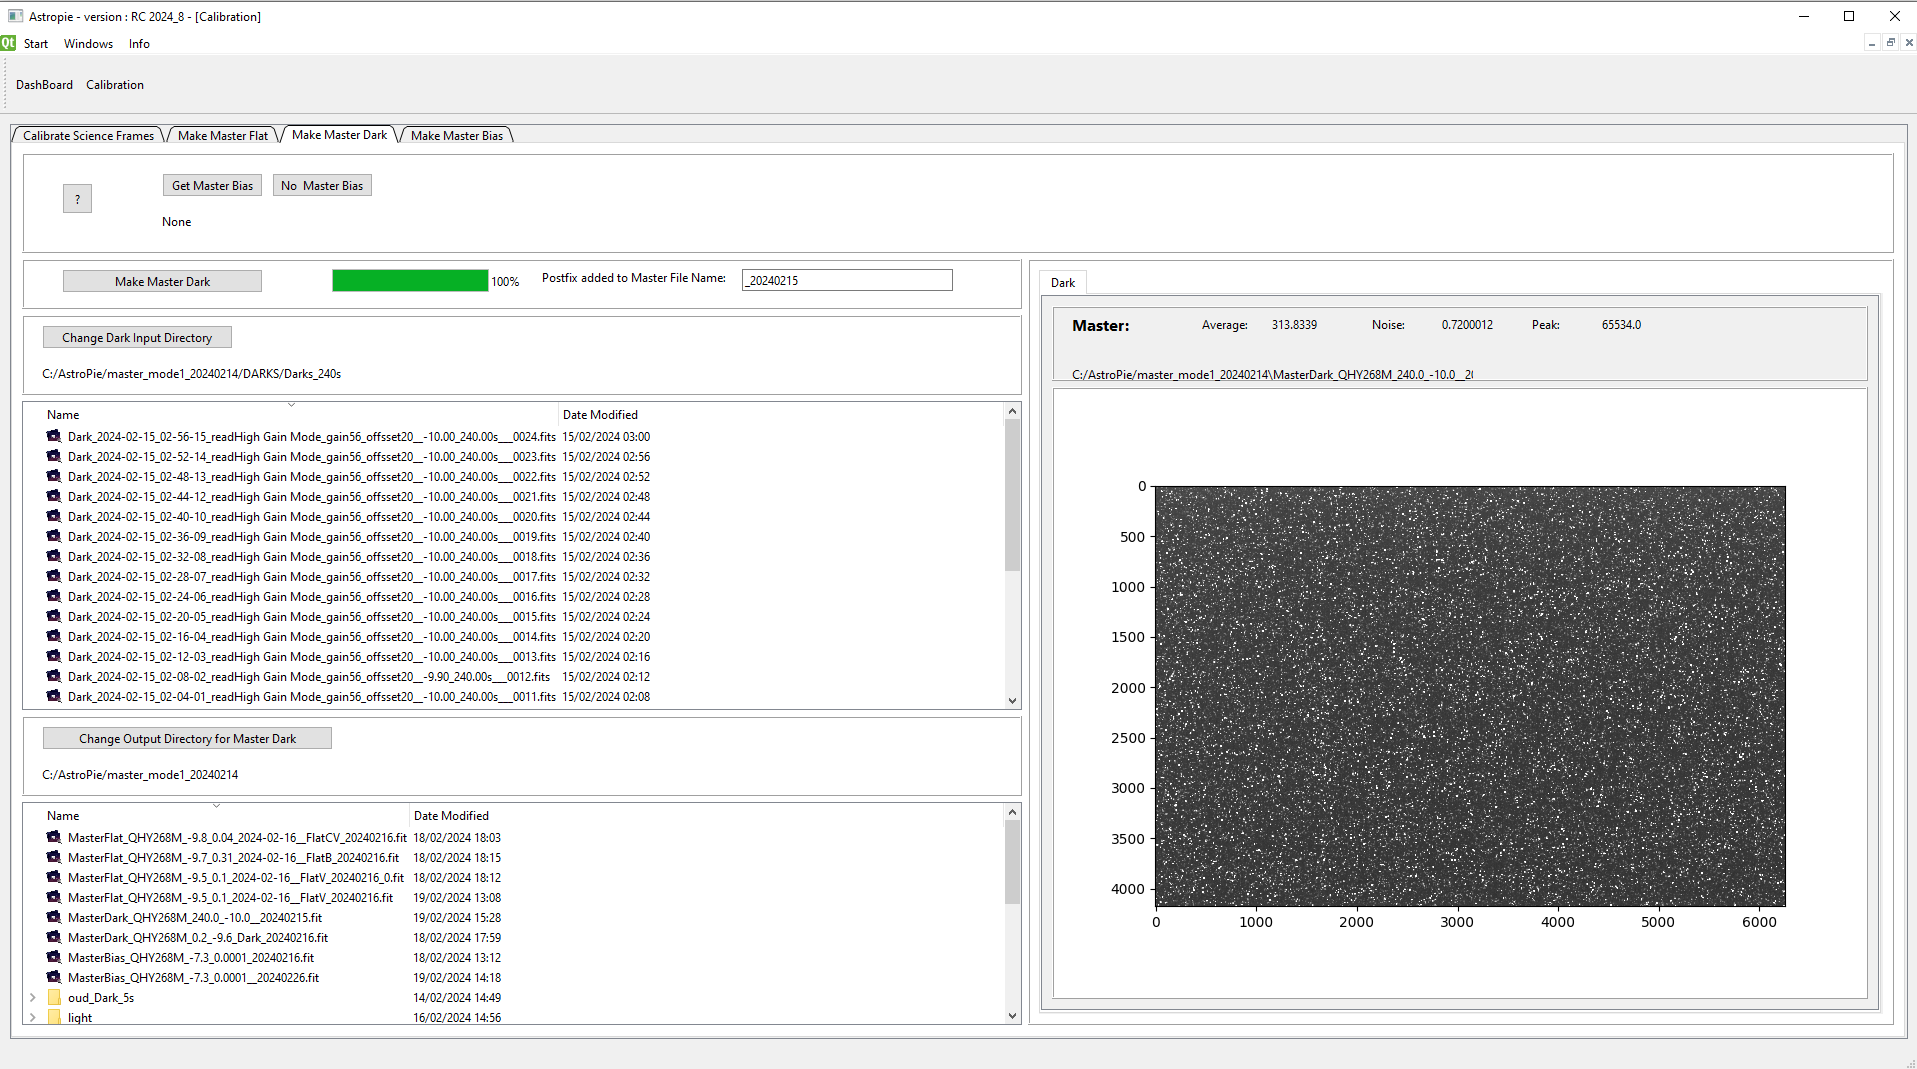
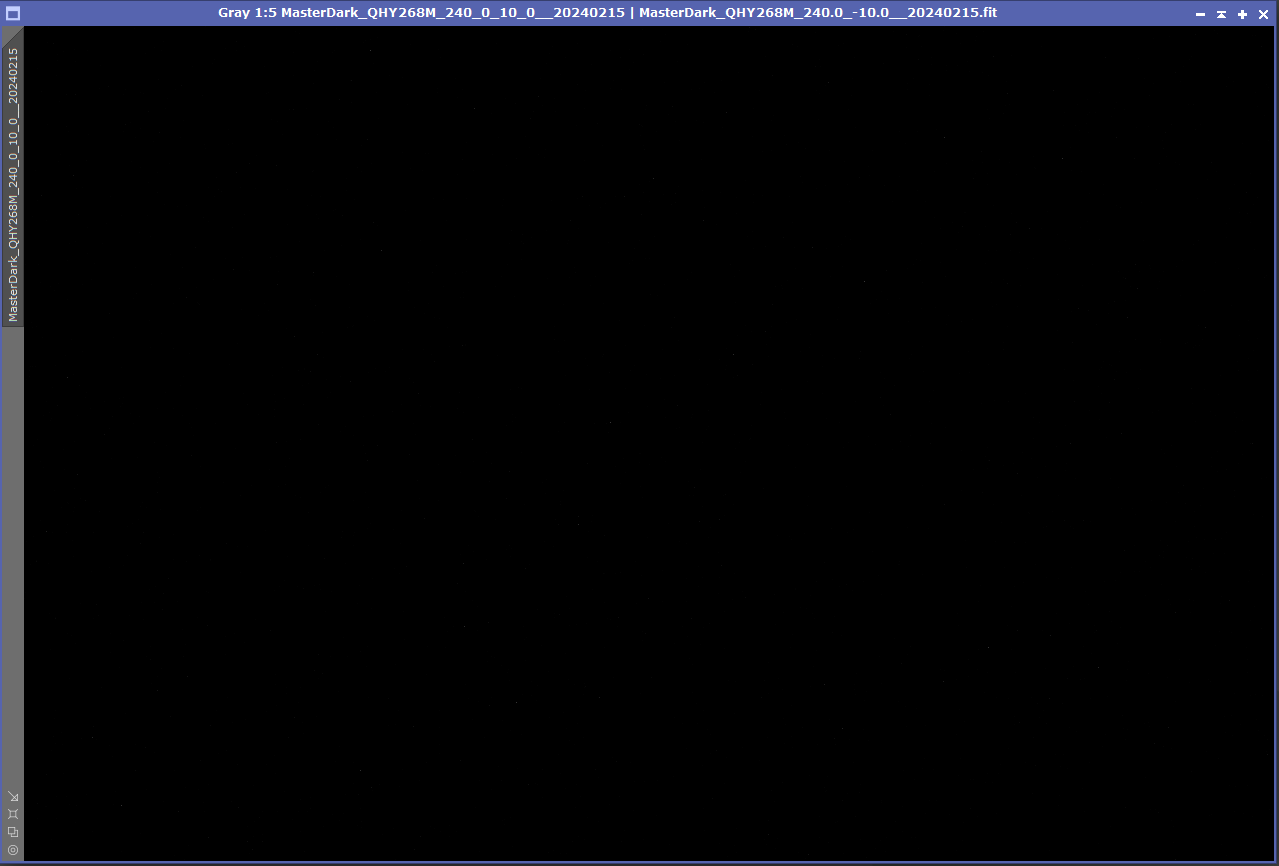
In the final result one can see that at 240s the hot and warm pixels are quite present. It has to be stressed that AstroPie shows them in a very exagerated way.
In a normal photo program the Dark Master is still very dark, no panic :